As a seasoned adventurer who has braved the perils of Faerûn in 2026, I can attest that Baldur's Gate 3's Honour Mode remains a crucible of skill and nerve. A single misstep is not a learning experience; it is a tombstone for a campaign's worth of progress. I've compiled my hard-won knowledge to guide you through the game's most infamous deathtraps, transforming them from run-enders into triumphant victories. Here are the encounters that demand your utmost respect and preparation.
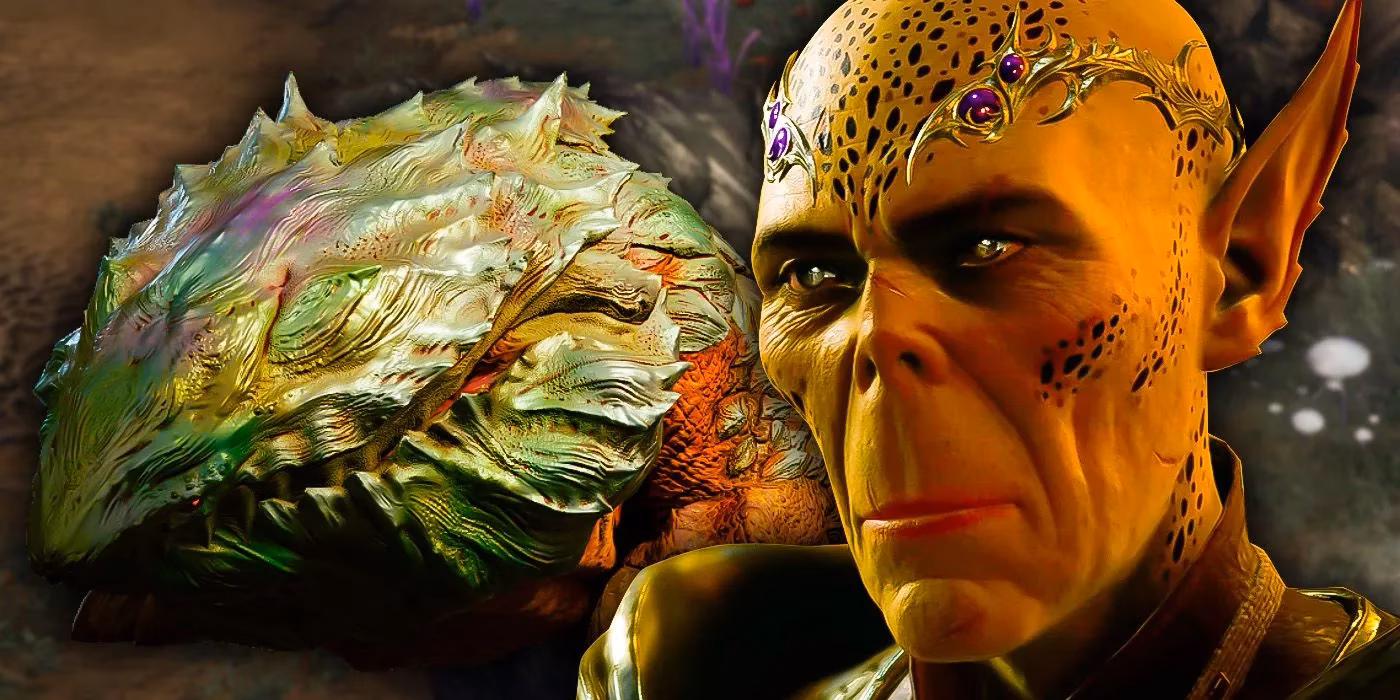
10. The Crash Site Intellect Devourers: A Deceptively Gentle Sea
Do not be fooled by the peaceful wreckage of the Nautiloid. Lurking among the debris are intellect devourers, and this early encounter is a siren's call to complacency. With a party of perhaps only one or two companions and characters often stuck at level one, your health pool is as fragile as a spun sugar sculpture. Their Synaptic Discharge can be lethal. While these particular aberrations are in a weakened state, approaching them without stealth and decisive force is like trying to paddle a paper boat through a storm. Use the environment, attack from high ground, and eliminate them before they can react.
9. The Grove's Siren Song: The Harpy's Deadly Lullaby
Exploring the Druid Grove, you may find young Mirkon entranced by a melodic call. This is the lure of harpies, and their song is a cognitive spiderweb, ensnaring your party members and forcing them to walk, helpless, into a multi-attack that can execute a low-level character in one turn. Success hinges on resisting their charm. Prioritize characters with Fey Ancestry and don't hesitate to use spells like Bless to tip the saving throw odds in your favor. This fight teaches a crucial Honour Mode lesson: not all dangers announce themselves with a roar.
8. Auntie Ethel's Mirror Maze: A Hag's Fractured Illusions
Pursuing Auntie Ethel into her lair leads to a battle of perception and chaos. Her most dangerous trick isn't a damaging spell, but her ability to spawn illusory doubles. Each double acts independently, and using magic against her only creates more, turning the battlefield into a hall of mirrors where every reflection casts a deadly spell. The key is to avoid spells for crowd control. Instead, use area-of-effect consumables like Alchemist's Fire or void bulbs. These deal guaranteed, minimal damage to pop the illusions without triggering more, allowing you to hunt down the real hag.
7. The Risen Road's Undead Engine: Death Shepherds and Their Minions
The Death Shepherds on the Risen Road are a lesson in strategic priority. These armored skeletons are the beating, necrotic heart of an undead engine, using their powers to resurrect ghouls and ghasts every turn. Charging in headlong leads to being slowly ground down by a tide that never ceases. The solution is surgical: isolate and destroy the Shepherds first. Use abilities that push or restrain to separate them from their minions. Killing both Shepherds quickly disables the engine, allowing you to mop up the remaining undead without fear of them rising again.
| Threat | Primary Danger | Key Counter Strategy |
|---|---|---|
| Intellect Devourers | Early-game low health & high damage | Stealth & alpha strike |
| Harpies | Party-wide incapacitation via song | Fey Ancestry & Bless spell |
| Auntie Ethel's Doubles | Action economy overwhelm | AoE consumables (e.g., Alchemist's Fire) |
| Death Shepherds | Infinite minion resurrection | Focus fire on Shepherds first |
6. Inquisitor W'wargaz: The Psychic Guillotine
The Githyanki Crèche is a fortress of pain, and its master, Inquisitor W'wargaz, is its sharpest blade. His legendary ability, Mind Claw of Tu'Narath, summons psychic weapons that strike your party whenever you harm him or his allies. It's a psychic guillotine that drops with every attack you make, quickly filling the arena with deadly blades. The fight becomes a lethal dance. You must use hit-and-run tactics: teleport, disengage, and focus all fire on W'wargaz himself. Trying to clear the blades is often a losing battle; slaying the Inquisitor makes them vanish.
5. Shadow-Cursed Ambushes: The Land Itself Attacks
Act Two's Shadow-Cursed Lands are a gauntlet of hidden threats. Twig Blights ambush you across the map, and surprise rounds in Baldur's Gate 3 are devastating. The boss variant, the Shambling Mound, is a walking cataclysm of vines and rot with a massive entourage. The best defense is a cautious offense. Scout ahead with stealth, use ranged attacks to initiate combat on your terms, and never let your party clump together. For the Shambling Mound, control the battlefield with area denial spells and keep your squishier members at maximum range.
4. Ketheric Thorm & Myrkul: The God of Death's Embrace
The climax of Act Two is a two-stage war of attrition. After defeating Ketheric Thorm, you face an aspect of Myrkul, the god of death. This entity radiates a necrotic aura that prevents all healing, acting like a metaphysical tourniquet on your party's vitality, and it heals itself by consuming its own minions. Survival depends on battlefield control. Assign party members to two tasks: one group to eliminate Myrkul's minions to deny him healing, and another to deal ranged damage to the avatar from outside its deadly aura. Mobility and target prioritization are everything.
3. Cazador's Profane Ritual: A Vampire's Chessboard
Cazador's ritual is a race against time and a test of discipline. The instinct to charge toward the captured Astarion is a trap that will get your party swarmed. Instead, view the arena as a macabre chessboard. Teleport a character directly to Astarion to free him immediately. Meanwhile, have other party members stand on the ritual's pedestals. This steals power from Cazador, weakening him dramatically and turning his own profane machinery against him. It's a fight won by playing his game better than he does.
2. Ansur the Undead Dragon: Dancing with Lightning
Ansur, the undead bronze dragon, is a force of elemental fury. His ultimate attack, Stormheart Nova, can vaporize a party. When he begins gathering power for it, you have three options, each a lifeline:
-
Cast Globe of Invulnerability. 🛡️
-
Use Blink or similar disengagement spells. ✨
-
Take cover behind the large crystals scattered in his lair. 💎
The rest of the fight is a marathon of dodging his lightning breath and chipping away at his damage-resistant scales. This encounter is less about brute force and more about rhythmic evasion and seizing the moment to strike.
1. The House of Grief: Shar's Umbral Tide
The fight against Viconia DeVir and her Sharran cultists in the House of Grief is, in my experience, Honour Mode's most common graveyard. The battlefield is perpetually shrouded in magical Darkness, a thick, blinding ink that neutralizes healing and turns combat into a desperate brawl. To win, you must fight darkness with darker sight. A Warlock with the Devil's Sight invocation is invaluable. Divide the cultists with spells like Wall of Ice or Hunger of Hadar, and focus fire on Viconia. As a last resort, the classic strategy of stacking explosive barrels before the conversation begins remains a valid, if inelegant, path to victory.
Surviving Baldur's Gate 3's Honour Mode is a testament to preparation, adaptability, and sometimes, sheer stubbornness. These encounters are the game's greatest challenges, but with the right strategy, they become its most rewarding victories. Good luck—you'll need it.
